Enabling HTTPS for Live Server Visual Studio Code extension

This tutorial tells you how you can enable HTTPS on Visual Studio Code (VS Code) live server extension.
First, if you don't already have the Live Server extension installed you can install it from the VS Code Marketplace.
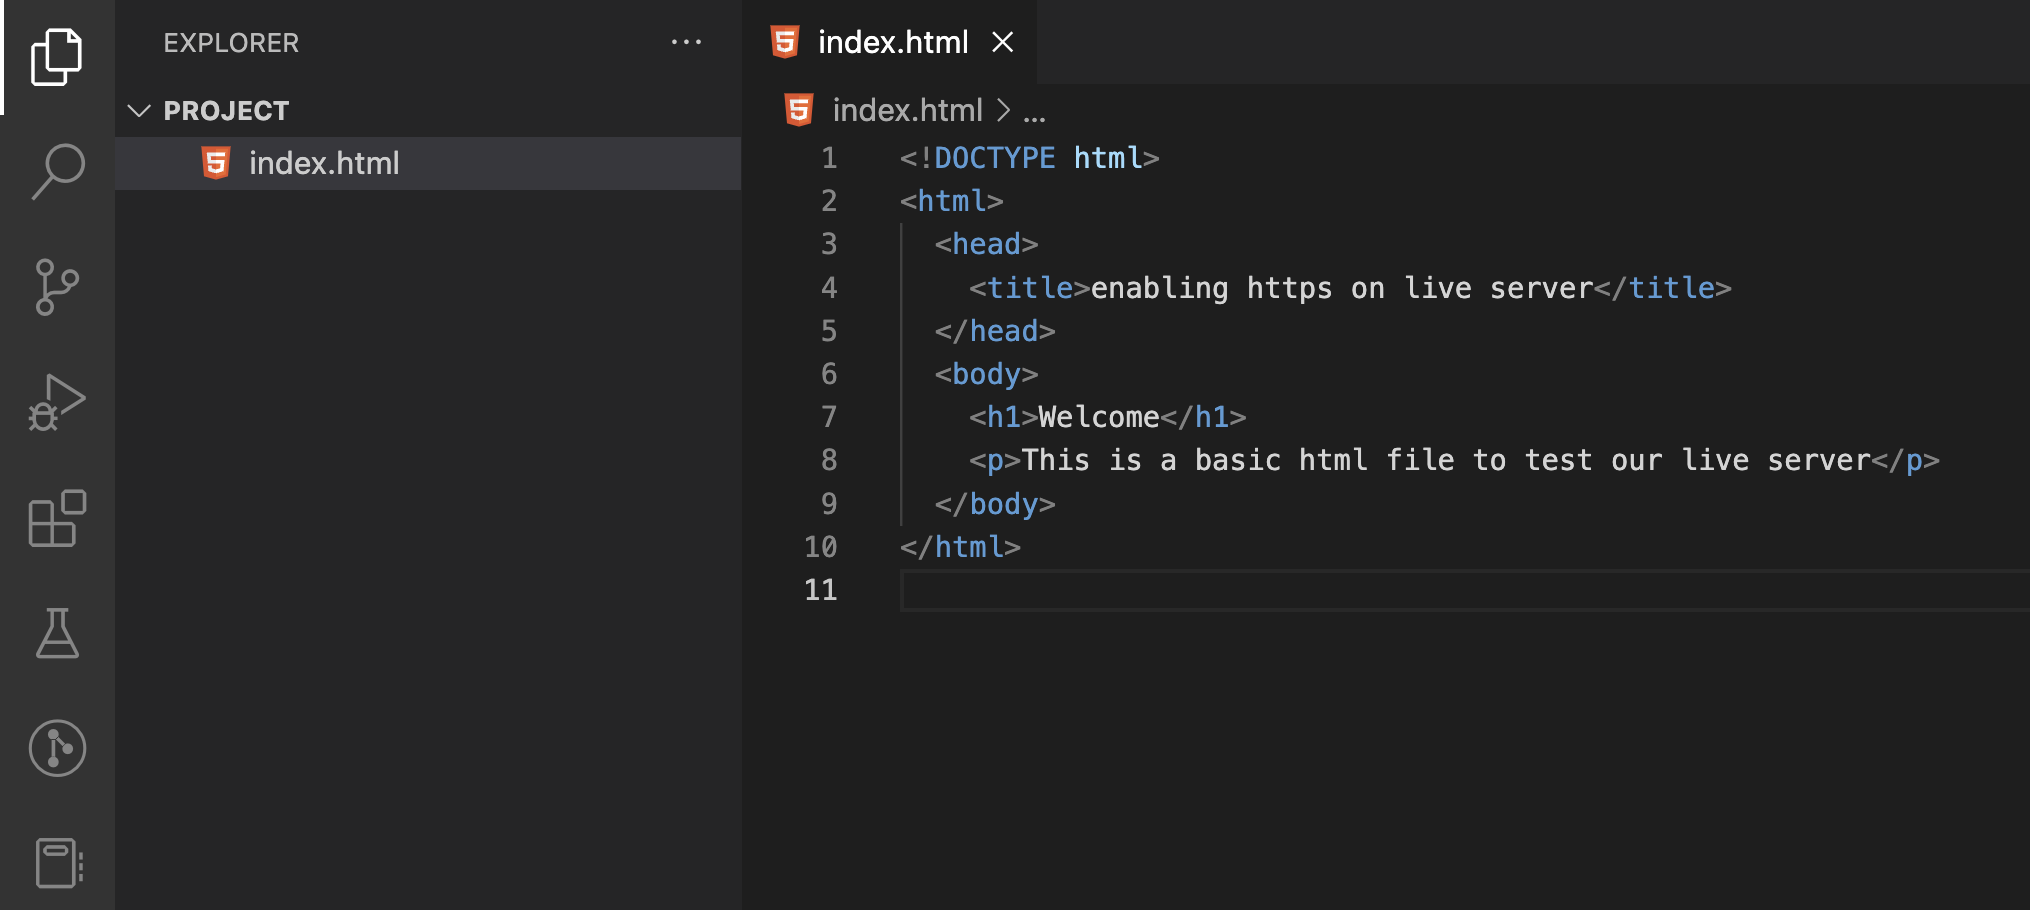
I have made a basic HTML file for demonstration purposes. So below you can see my mini project in vs code.
Next, we need a certificate. I am going to show you how you can generate a self-signed certificate with OpenSSL. If you already have a certificate you can skip this part.
Generate private key and certificate.
In order to generate the private key and certificate you need to have OpenSSL installed.
Enter the following command in your terminal to generate a private key
openssl genrsa -aes256 -out localhost.key 2048
This command is going to generate a private key in the file localhost.key with aes256 encryption and a size of 2048.
After entering the command you will be prompted to type a passphrase. keep the passphrase in mind because we will be using it to generate our certificate.
To generate the certificate run the following command in your terminal.
openssl req -days 3650 -new -newkey rsa:2048 -key localhost.key -x509 -out localhost.pem
You will be prompted to provide the paraphrase. Hope you still remember the password you used in creating the private key, cuz that's what you should enter.
You will also be prompted with some information that will be stored in the certificate such as Country Name, State or Province Name and more. When prompted with the domain use localhost. here is a screenshot of my responses.

Now your certificate and key have been generated.

Make sure you remember the directory where you created yours because we are going to be needing the full path in customizing our live server settings
Configure the Live Server extension to use the SSL certificate
In the root directory of your project create a .vscode folder, and inside the folder make a settings.json file. The settings.json file is where we will add our customization settings for the live server extension.
Now paste the following code inside of the settings.json file
{
  "liveServer.settings.root": "/",
  "liveServer.settings.https": {
    "enable": true,
    "cert": "/Users/gracefrannk/DEV/Learning/project/certificate/localhost.pem",
    "key": "/Users/gracefrannk/DEV/Learning/project/certificate/localhost.key",
    "passphrase": "yourpassphrase"
  }
}
and replace the values of the "cert" and "key" fields with the full path to the certificate and key files in your local computer.
Test your configuration
Right-click on the file you wish to run in the browser and select "Open with Live Server" in the menu that appears. This will open up in your browser with HTTPS.

Because you are using a self-signed certificate, your browser might give you a warning, it's ok, just click advanced and proceed to the site.

References
https://www.youtube.com/watch?v=v4jgr0ppw8Q
https://gist.github.com/prof3ssorSt3v3/edb2632a362b3731274cfab84e9973f9


